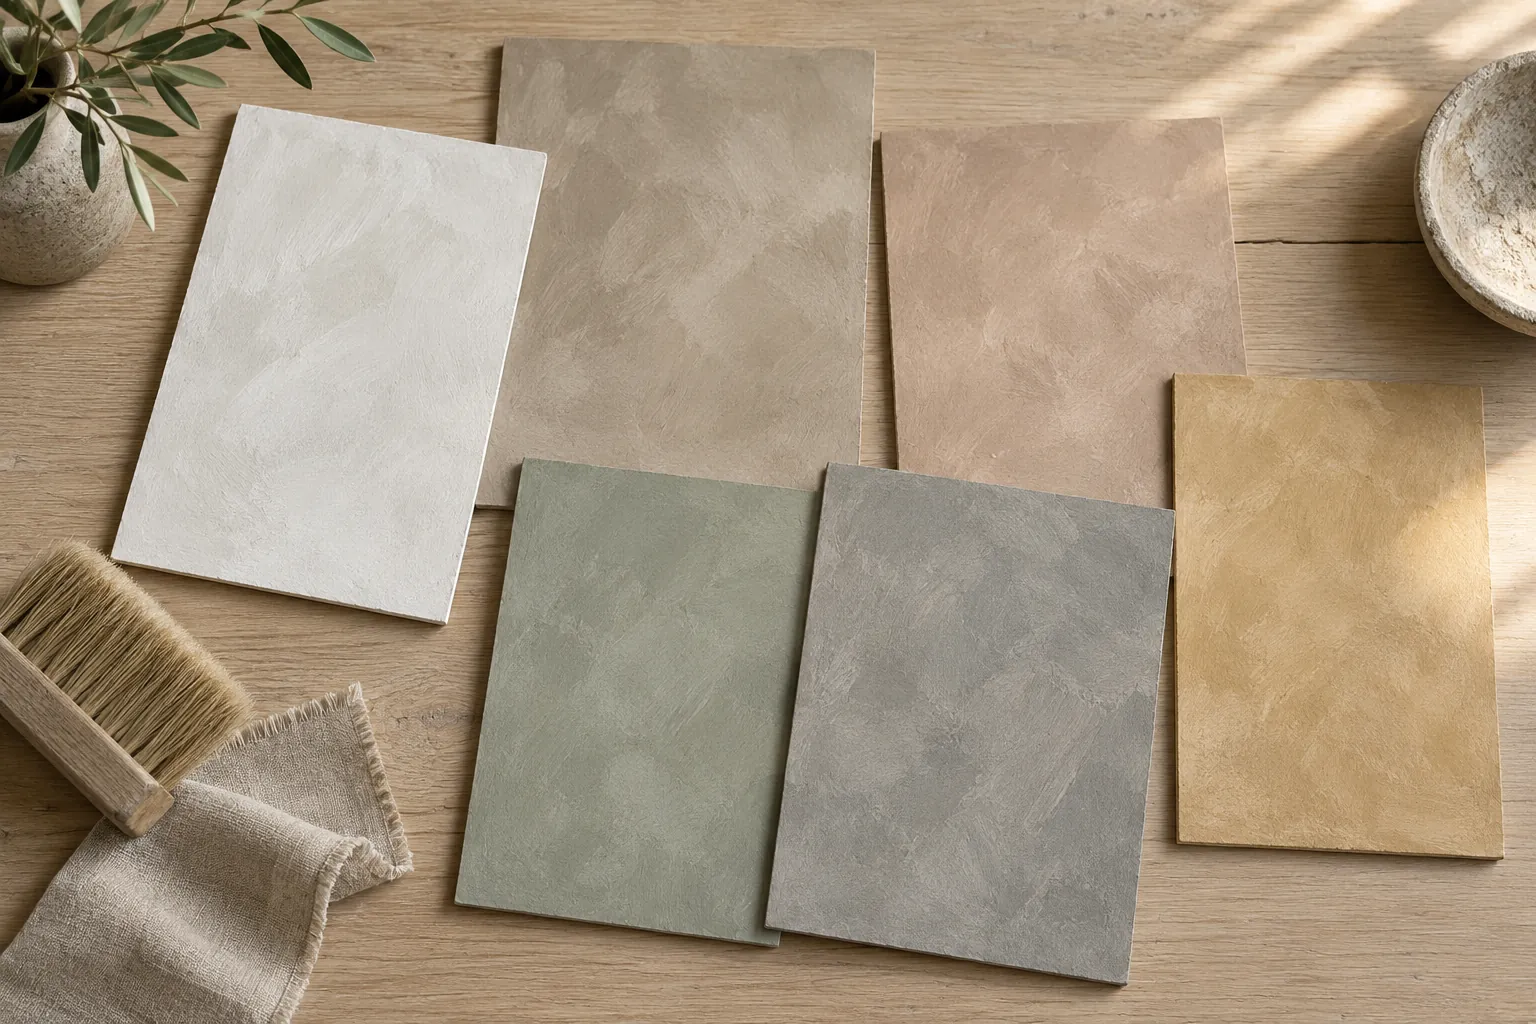
Example Limewash Projects in Renton

Renton’s homes are spread across the decades. Just over half were built between 1960 and 1999, about three in ten since 2000 and about one in six before 1960, and these four examples come from that mix, with two 2000s houses, one from the 1990s and one from the 1950s.

Nothing here is a past job, client or address. Each example is assembled from the preparation that kind of surface usually needs and current price ranges, as a guide you can test your own plans against before asking for a quote.

Builder-white powder room turned warm clay in a 1990s house

Example project
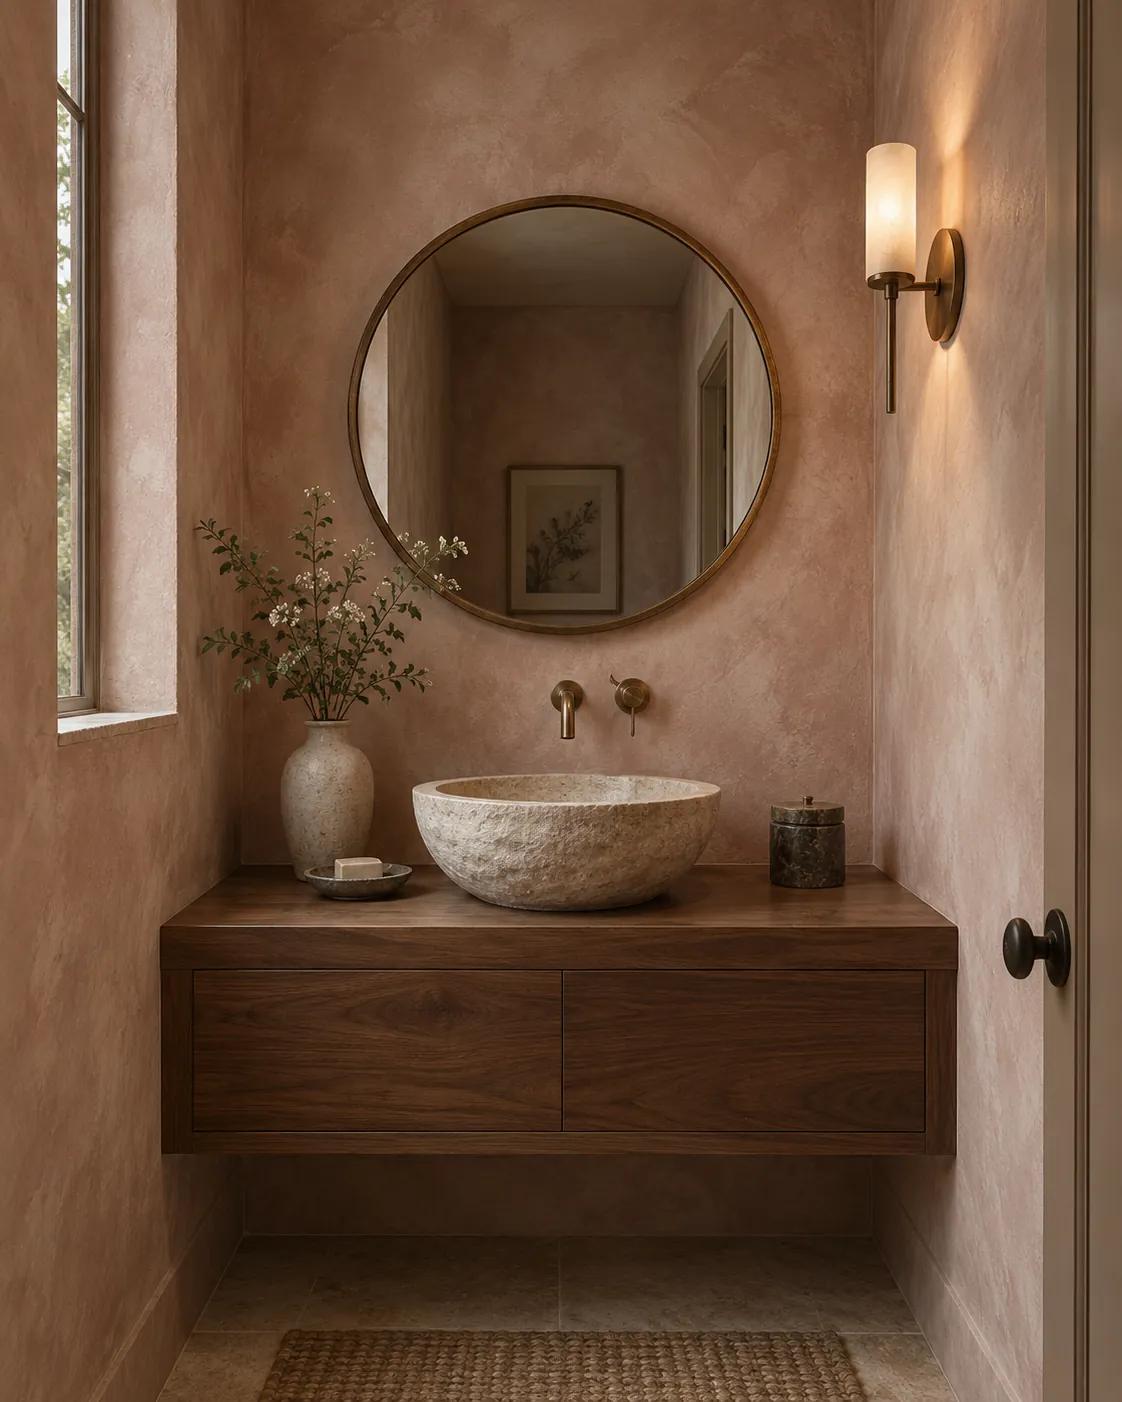
Small powder room with warm clay limewash walls, a window, a brass wall faucet and a carved stone basin
Home
1990s house, powder room with a window
Original request
A warm clay color instead of builder white
Surface
Painted drywall
Area
About 185 sq ft of wall
Existing finish
Flat builder-grade white paint
Finish
Undercoat, then a lime paint in warm clay pink, two coats
Timeline
Two working days
Estimated cost
$1,550

Scope of work

Masking of the vanity, mirror, faucet, wall light and floor; filling small holes; the undercoat over flat paint; two brushed coats, each wall finished in one go.

Project overview

In this example, the powder room is plain builder white and feels like a corridor. The owners want a warm, earthy clay color that makes the small room feel finished, especially in the evening under the wall light.

Lime dries several shades lighter than it looks wet, so the shade is judged dry and under the room’s own light. Flat paint in good condition only needs the undercoat, which keeps the job to two days.

The goal

The goal is a warm powder room in soft clay, with the brass and walnut standing out against the walls.

Process

  1. Before work Boards in two clay pinks, dried and checked under the wall light in the evening.
  2. Day one Masking, small holes filled, undercoat rolled on.
  3. Day two Clay coat in the morning, second coat in the afternoon.

Planning right

  • Lime colors come from earth pigments, which is why clays, ochres and soft pinks sit so well in it. Bright, saturated colors are outside its range.
  • A small room with one window changes a lot between day and night. Look at the boards in both.
  • Plain lime marks if water sits on it. For a basin that splashes every day, a glass or stone splashback is the safer plan.
Request a free quoteMore about interior limewash walls

Bedroom over old gloss paint in a 1950s house

Example project

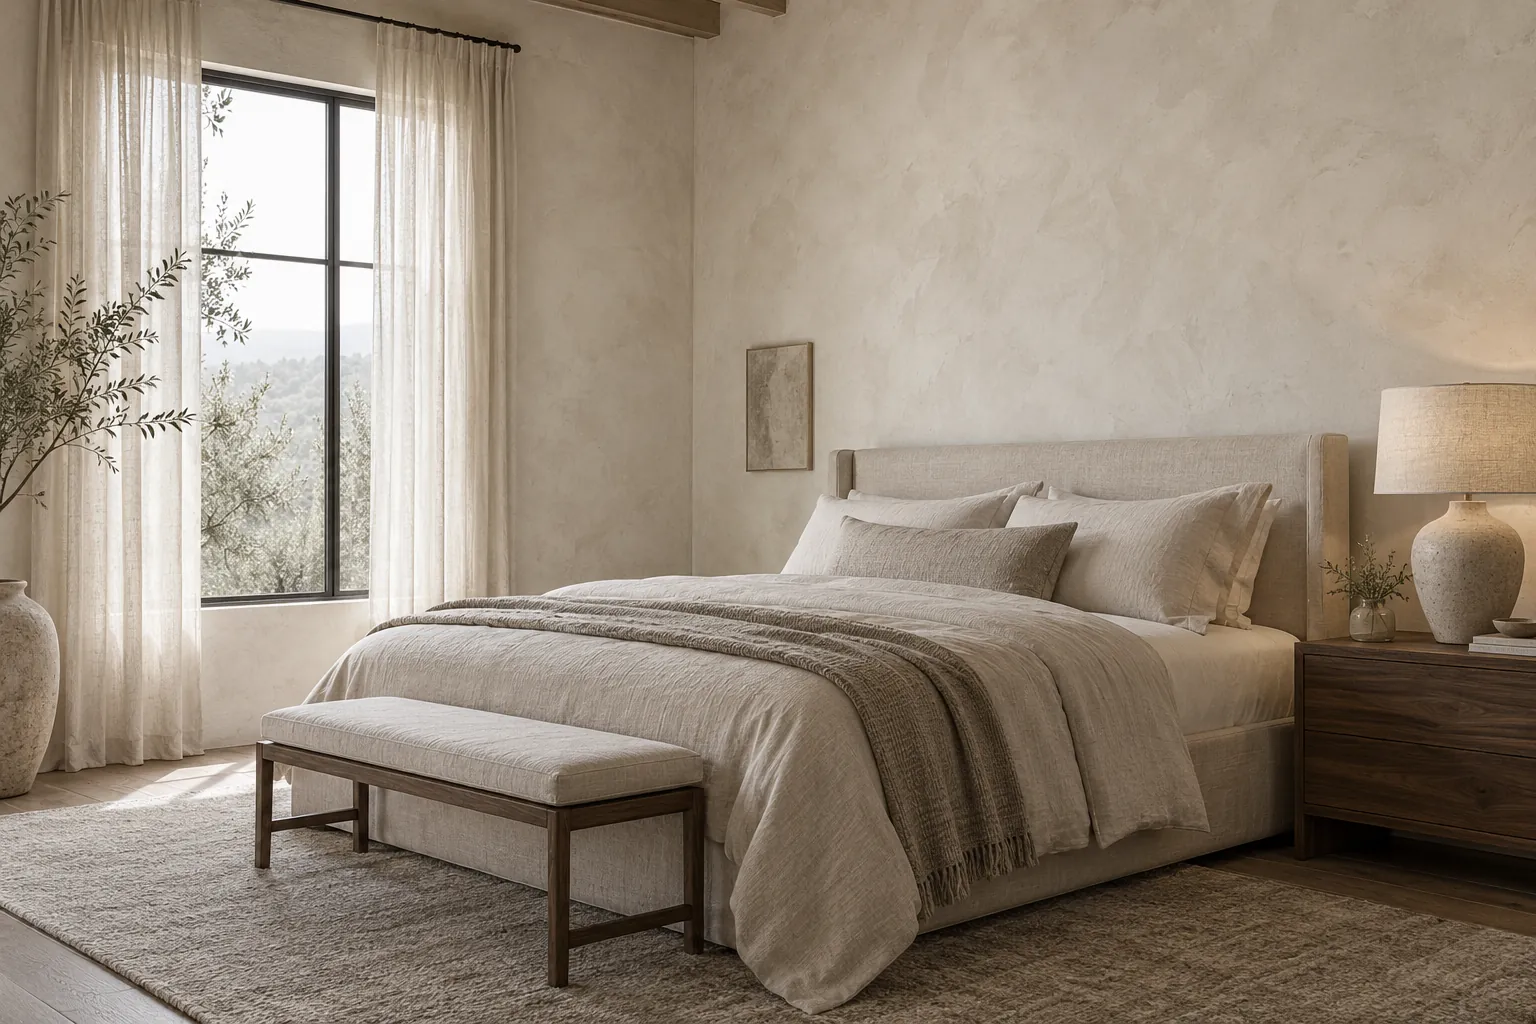
Main bedroom with soft putty limewash walls, a tall black window, sheer linen curtains and a linen bed
Home
1950s house, main bedroom
Original request
A soft putty finish instead of shiny old paint
Surface
Painted plaster walls
Area
About 370 sq ft of wall
Existing finish
Old oil-based gloss paint, with latex over it in places
Finish
Gloss dulled and two undercoats, then a lime paint in putty, two coats
Timeline
Four working days
Estimated cost
$3,300

Scope of work

A test to find out whether the old paint is oil-based; lead-safe sanding to dull the gloss, by a certified firm and included in this estimate; cleaning; two undercoats; two brushed coats; protection of the floor, window and furniture.

Project overview

In this example, the bedroom walls have a hard, shiny finish from decades-old oil paint, with latex on top in places. The owners want a soft, matte putty color that makes the room feel quiet.

Lime cannot grip a gloss, and some lime systems rule out oil paint altogether, so the product and the preparation are chosen together. In a house built before 1978, dulling that paint is lead-safe work, so it happens first.

The goal

The goal is a quiet putty-colored bedroom with a soft matte finish that catches the morning light, and no shine left on the walls.

Process

  1. Before work Paint tested, and boards in putty and warm white checked in morning light.
  2. Day one Room sealed and protected, lead-safe sanding to dull the gloss, cleaning.
  3. Day two Two undercoats.
  4. Day three First coat of putty.
  5. Day four Second coat and clean-up.

Planning right

  • Sanding old paint in a pre-1978 house is lead-safe work in Washington. Ask who does it and whether it is in the price, as it is here.
  • Some lime products are not used over oil paint at all, so ask which system is planned.
  • A gloss has to be dulled before anything sticks to it. Two undercoats then give the lime an even base.

Request a free quoteMore about interior limewash walls

Living room wall after a built-in unit comes out, in a 2000s house

Example project

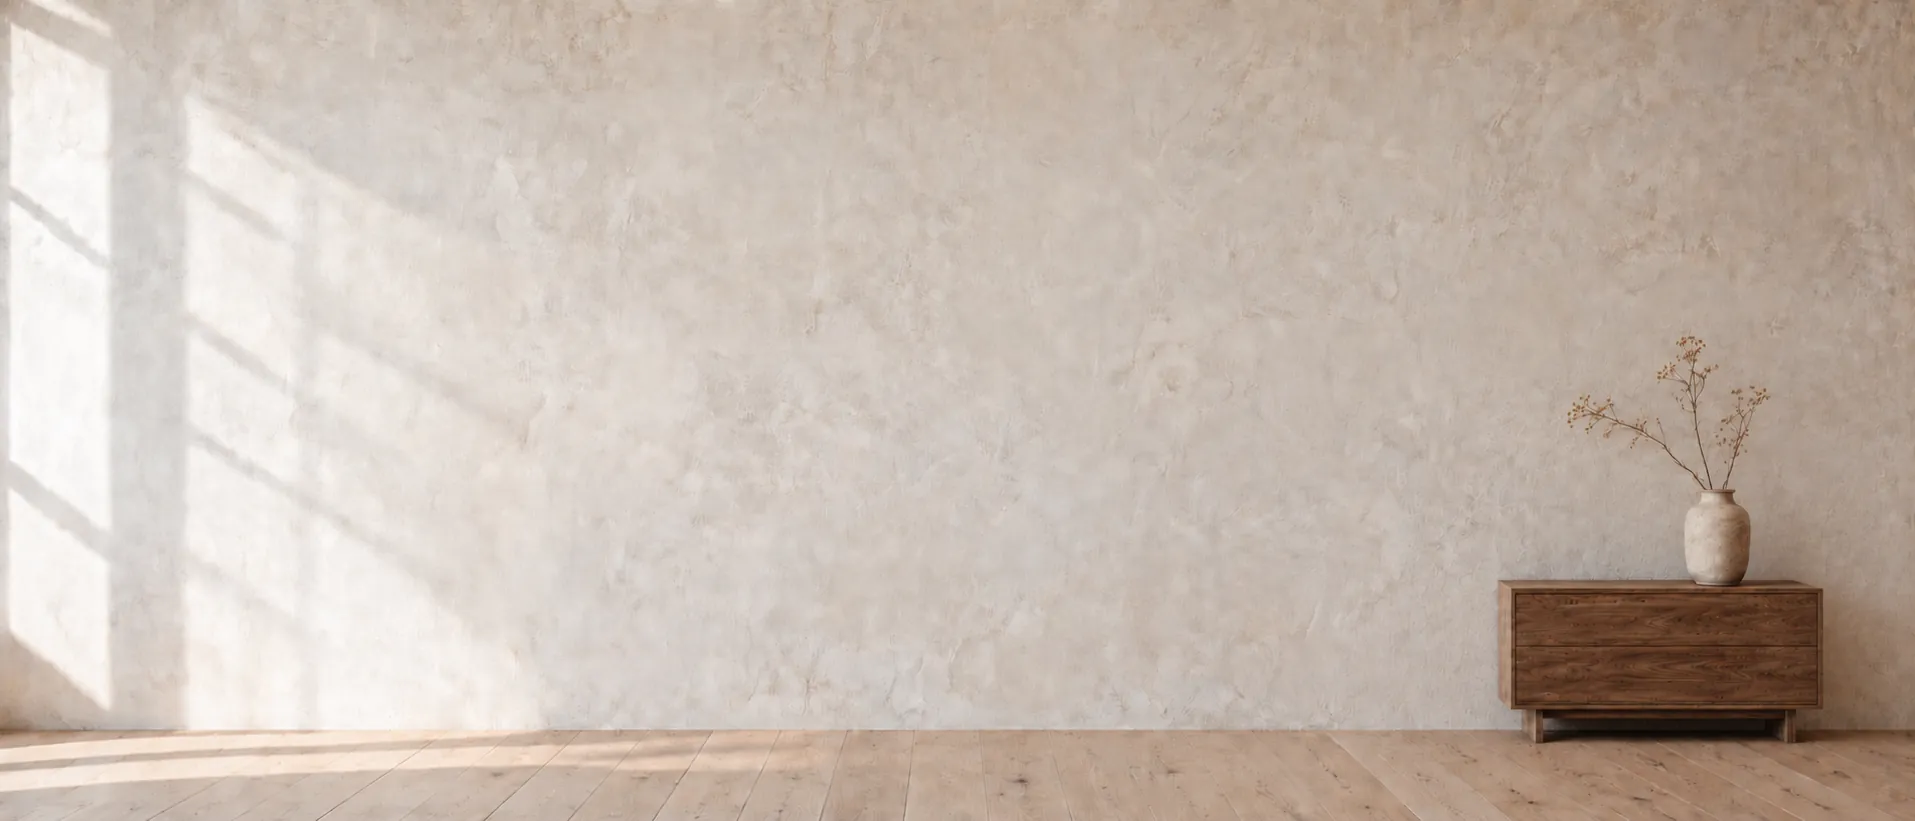
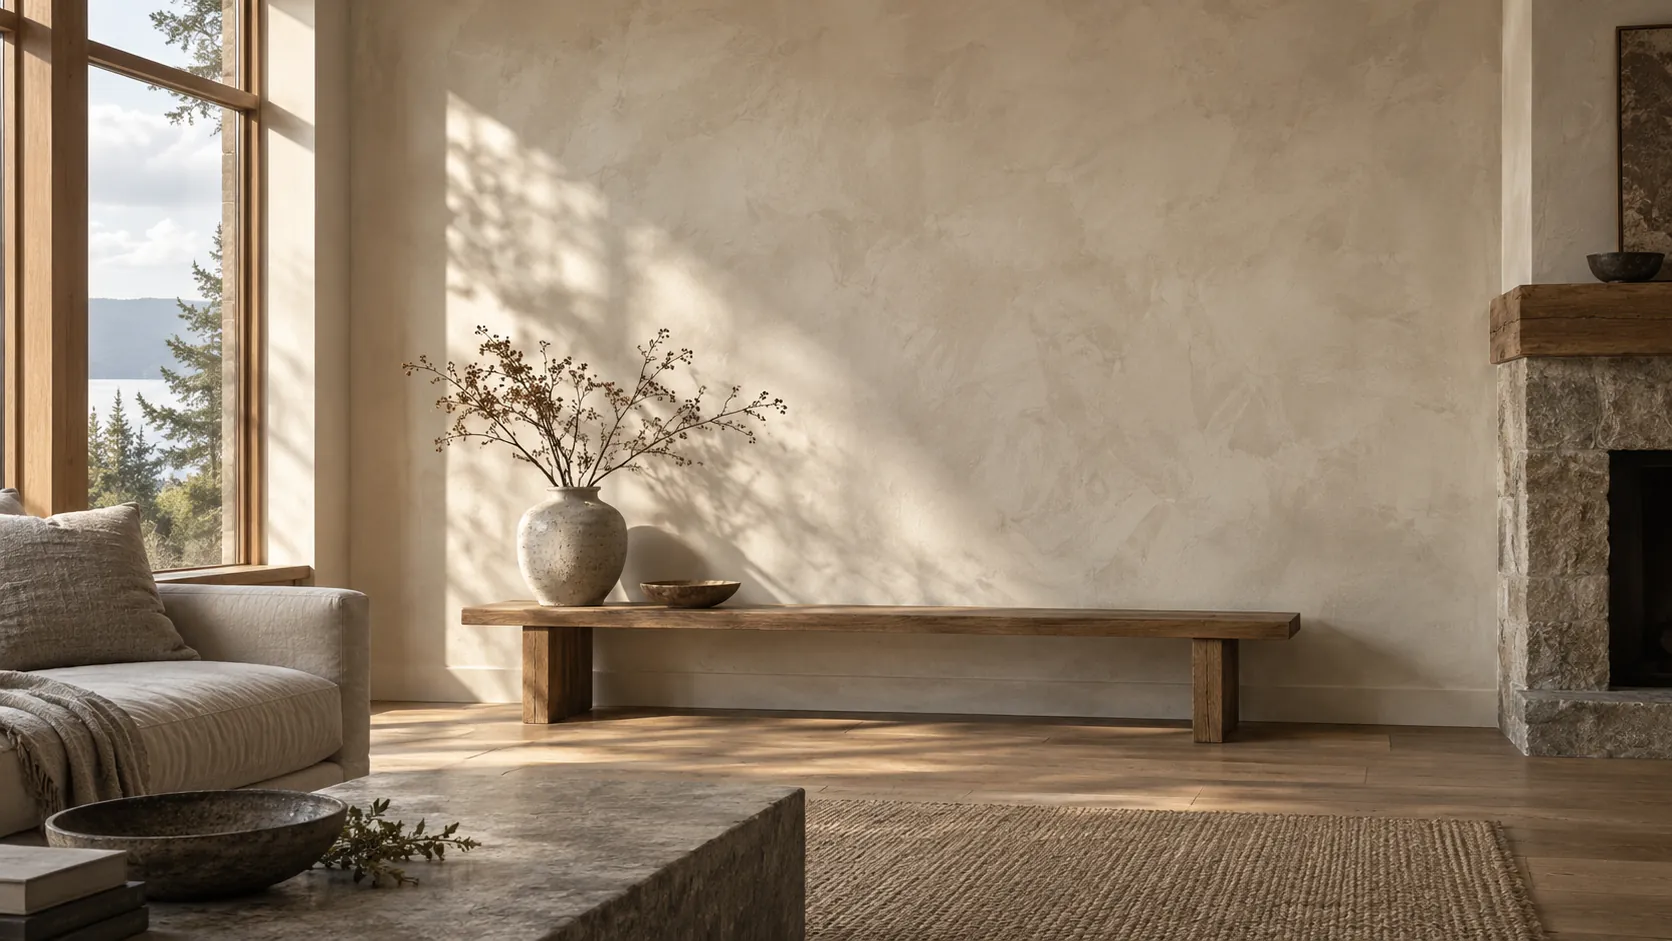
Plain living room wall in ivory limewash, a wooden bench with a vase of branches, and tall windows to one side
Home
2000s house, living room with tall windows and a stone fireplace
Original request
Hide the patched wall left after a built-in media unit is removed
Surface
Drywall with new patches and screw holes
Area
About 145 sq ft of wall
Existing finish
Flat paint, with an outline where the unit stood
Finish
Drywall primer on the patches and an undercoat, then a lime paint in ivory, two coats
Timeline
Three working days
Estimated cost
$1,250

Scope of work

Screw and anchor holes filled; torn drywall cut out and patched; patches sanded flat; two coats of drywall primer on the patches; the undercoat over the whole wall; two brushed coats; masking of the floor, windows and the edge of the fireplace.

Project overview

In this example, a large built-in media unit is coming off the long living room wall, leaving holes, torn paper and a ghost outline in the paint. The owners want the wall to look intentional rather than freshly patched.

Repaired drywall needs its own primer before the undercoat, or the patches can show through as flat spots. Once the whole wall has one even base, two coats of ivory lime give it soft movement, and nothing shows of where the unit stood.

The goal

The goal is an ivory wall with soft movement from corner to corner and no trace of the old unit.

Process

  1. Before work Boards in ivory and warm white, checked in the afternoon sun.
  2. Day one Holes filled and torn areas patched.
  3. Day two Patches sanded, two coats of drywall primer on them, then the undercoat over the whole wall.
  4. Day three Ivory lime in two coats across the whole wall.

Planning right

  • Patched drywall takes two coats of a drywall primer before the undercoat. Skip it and the patches show as dull spots.
  • Sand every patch flush with the wall. Lime follows the surface, so a raised edge stays visible.
  • The whole wall gets the undercoat, not just the patches, so the lime dries evenly from corner to corner.

Request a free quoteMore about interior limewash walls

Window patches blended into a 2000s stucco house

Example project

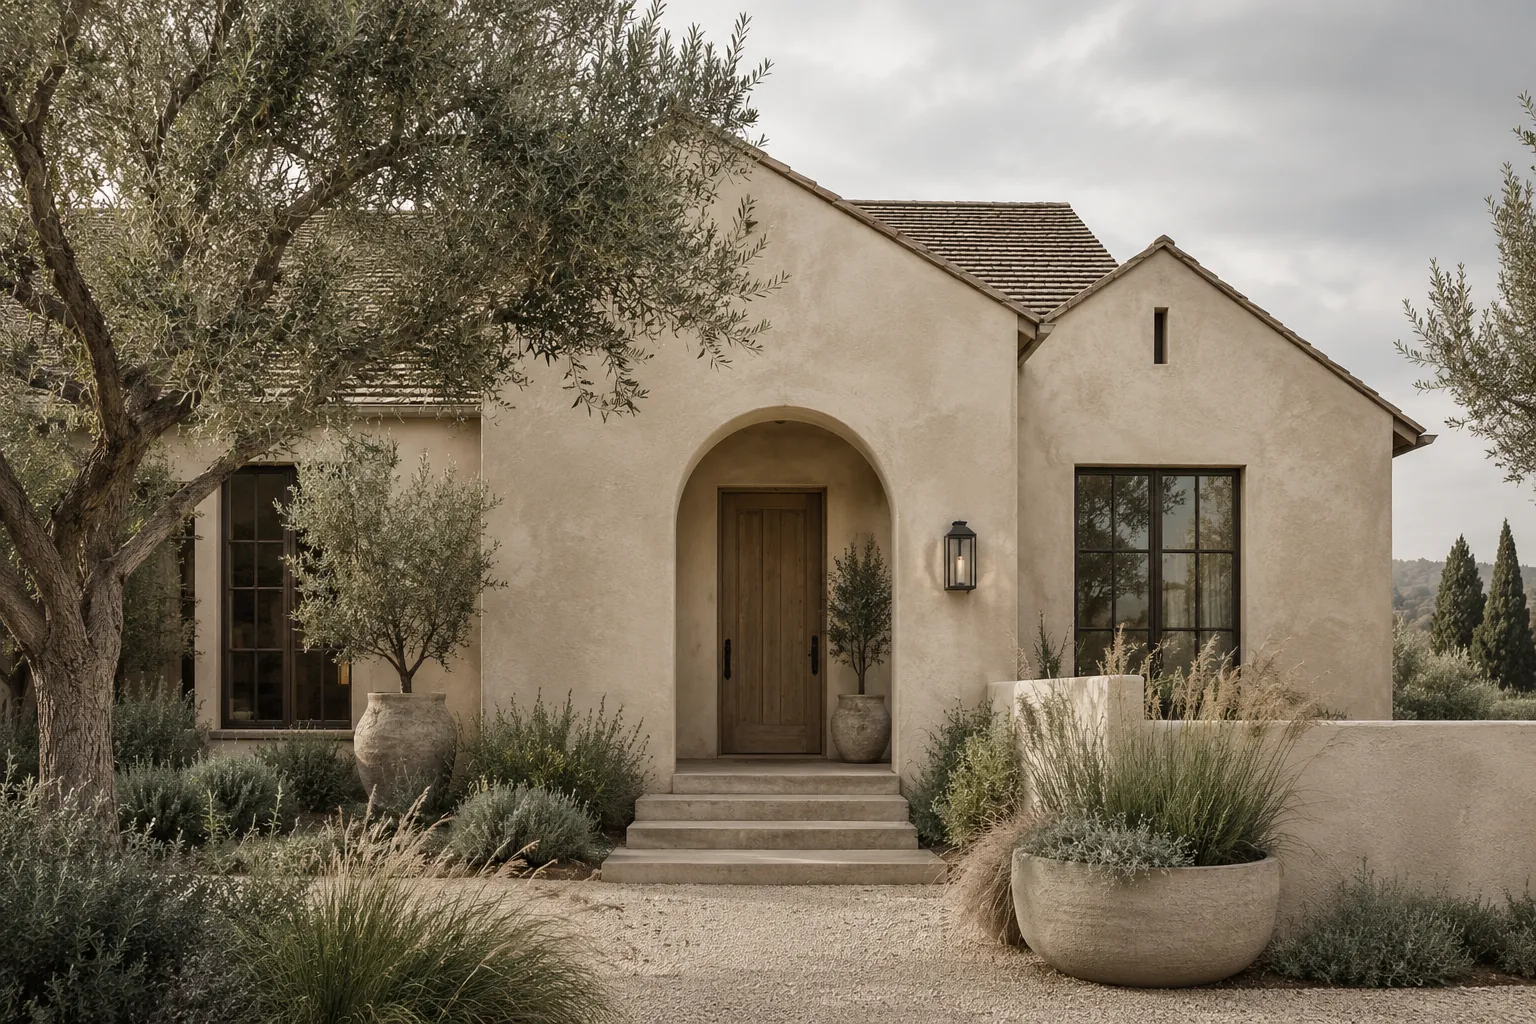
Single-story stucco house in sand-colored limewash with an arched entry, two gables and a low garden wall
Home
2000s single-story house
Original request
Hide the stucco patches left around new windows
Surface
Integral-color cement stucco with fresh patches
Area
About 1,100 sq ft of wall and the low garden wall
Existing finish
Unpainted stucco, faded, with new gray patches around each window
Finish
Warm sand exterior limewash, two coats over old stucco and patches
Timeline
Five working days, about a month after the patching
Estimated cost
$7,400

Scope of work

Waiting three to four weeks for the patches to cure; washing the walls; a water test on old and new stucco; protection of windows, the front door and planting; dampening; two brushed coats over every wall, one side at a time, with a sample across one patch first.

Project overview

In this example, new windows have gone in and the stucco around each one is patched. The patches are gray against the faded sand color of the old walls, and the owners want the house to read as one color again.

Fresh cement stucco has to cure for about three to four weeks before it takes limewash, so the painting is booked a month after the patching. A full coat over every wall, not just the patches, gives one even color across old and new.

The goal

The goal is one warm sand color over the whole house, with no gray rings left around the new windows.

Process

  1. Four weeks before Window patches finished and left to cure.
  2. Before work A sample brushed across one patch and onto the old stucco beside it.
  3. Day one Washing, then windows, door and planting covered once the walls are dry.
  4. Days two and three First coat, side by side, starting on whichever wall is in shade.
  5. Days four and five Second coat over the house and the low garden wall, then a check around every window.

Planning right

  • New cement stucco needs about three to four weeks to cure before limewash. Coating it sooner can leave blotchy color.
  • Patches and old stucco soak up water differently. The sample across both shows whether the patches need a little extra.
  • Renton’s permit exemption for painting does not cover stucco. Ask the city’s permit desk whether this job needs a permit.
  • Rain within a day or two of a coat can streak or rinse it, so the outside work waits for a dry forecast, most often in Renton’s July and August.

Request a free quoteMore about limewash stucco and concrete

More limewash finishes

The pictures below are concept images of other limewash finishes, from brick and stone to restaurant and shop walls. Compare light and deep tones here, then try samples on your own surface.

Interior walls and rooms

A chalk-white limewashed wall with a compact walnut sideboard and a stoneware vase of dried branches
Chalk-white limewash wall with a walnut sideboard
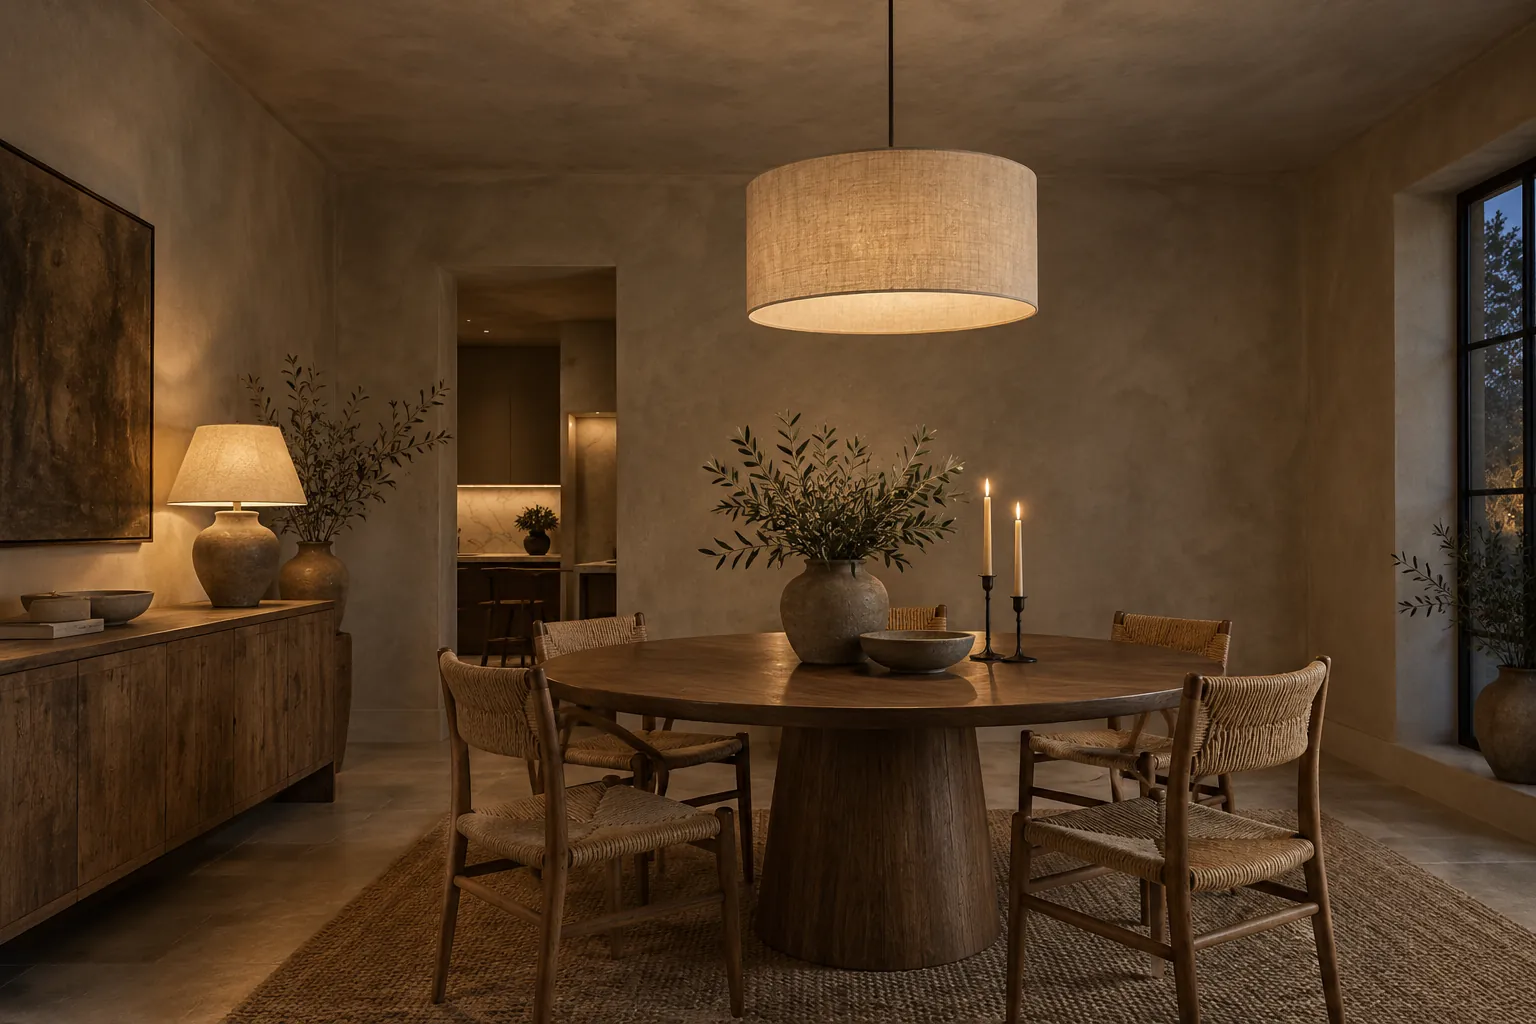
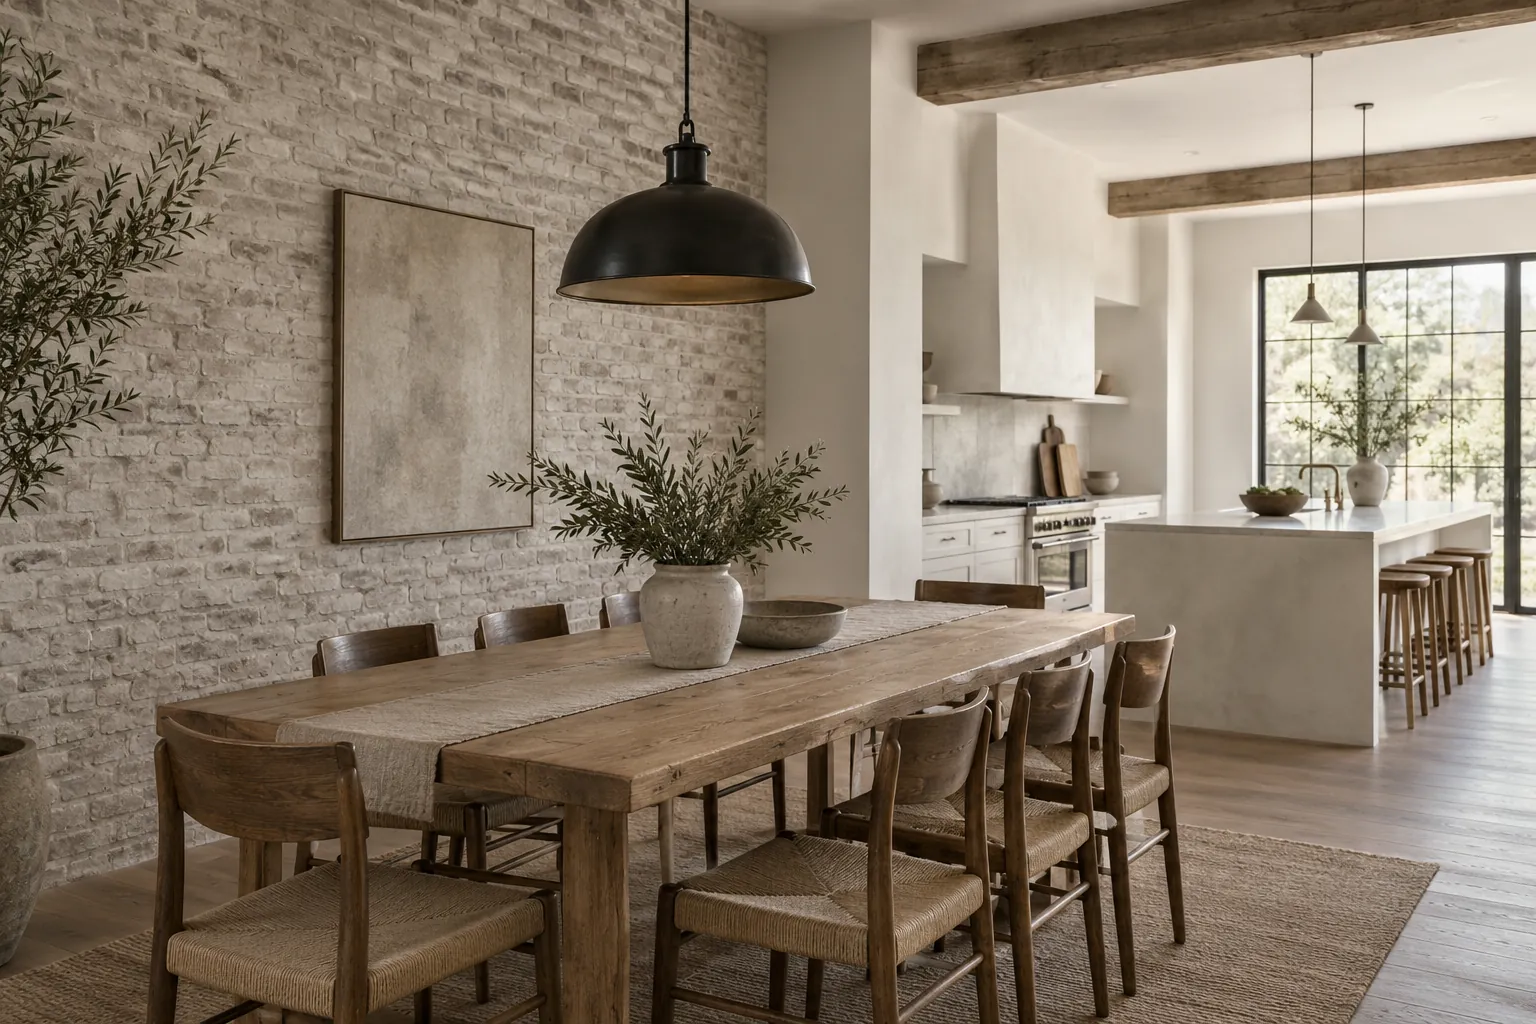
Dining room with walls and ceiling in mushroom limewash
Deep mushroom limewash on walls and ceiling
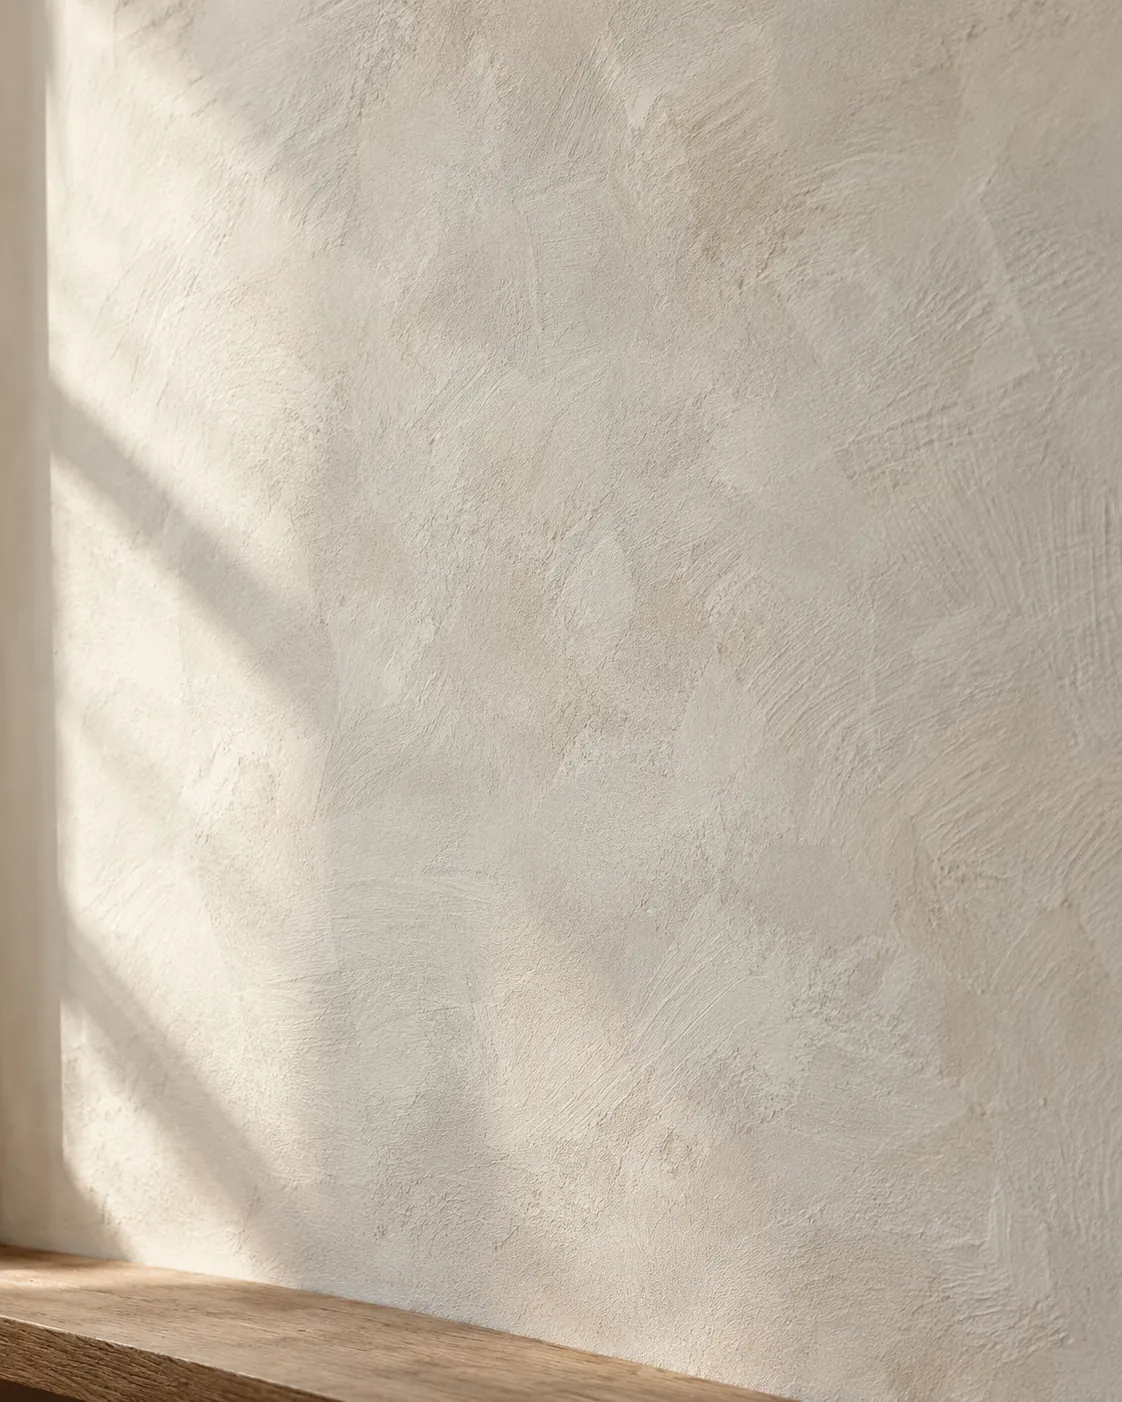
Close view of clouded limewash texture
Close detail of limewash brush movement
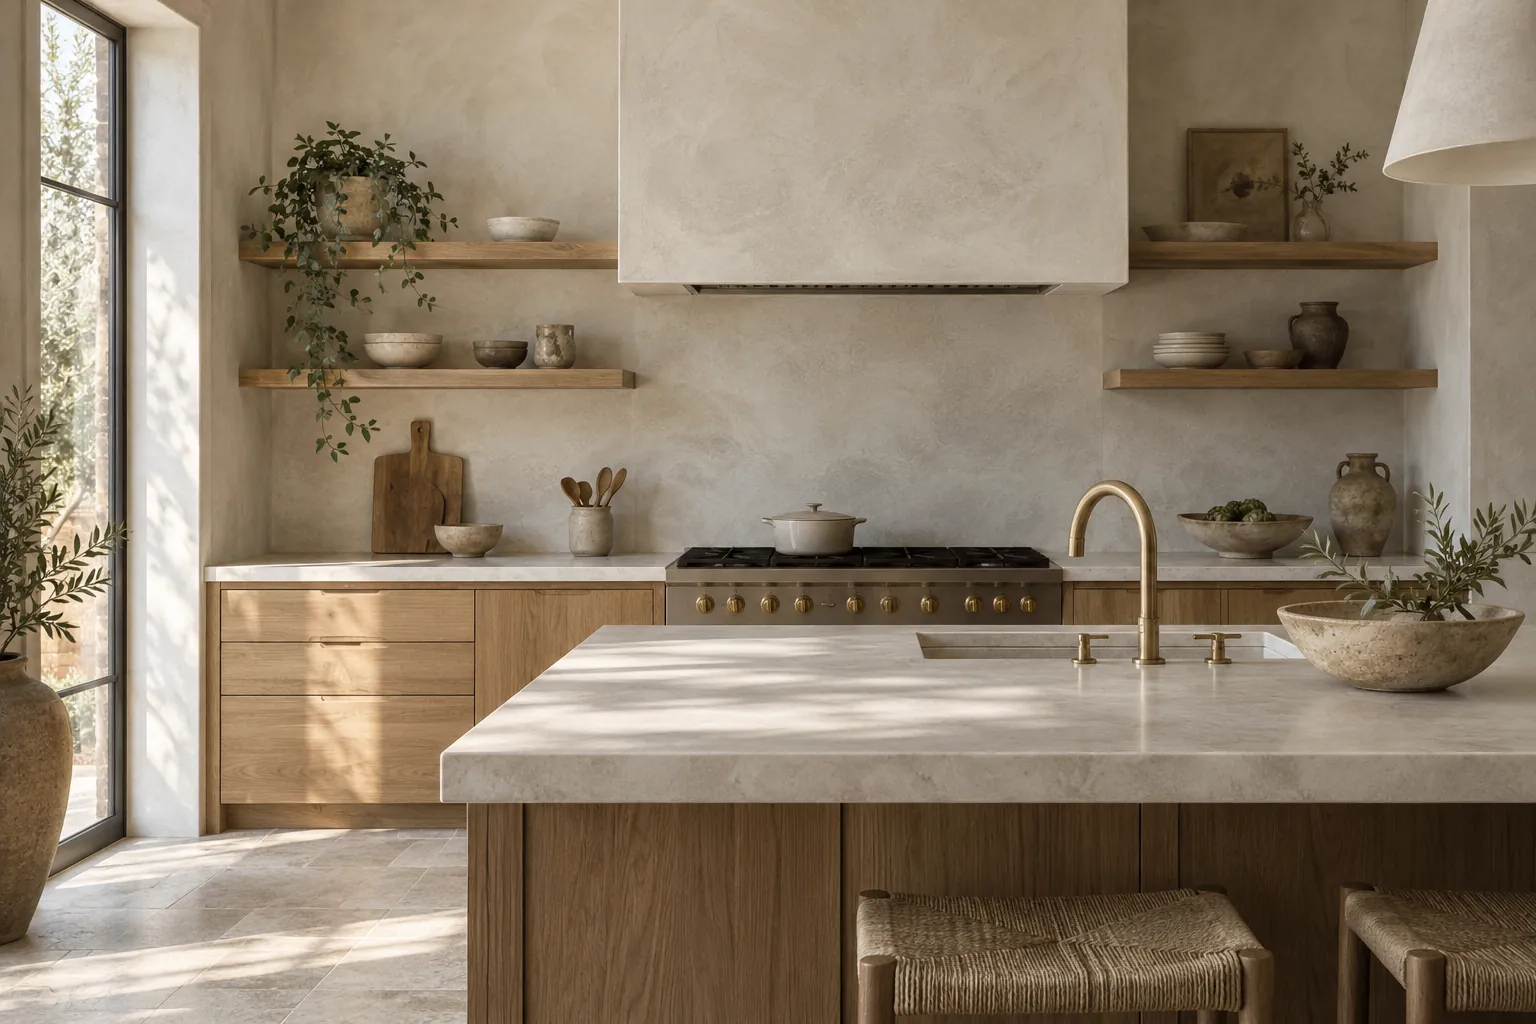
Kitchen with limewash range hood and wall behind open shelves
Creamy limewash on a range hood and kitchen wall
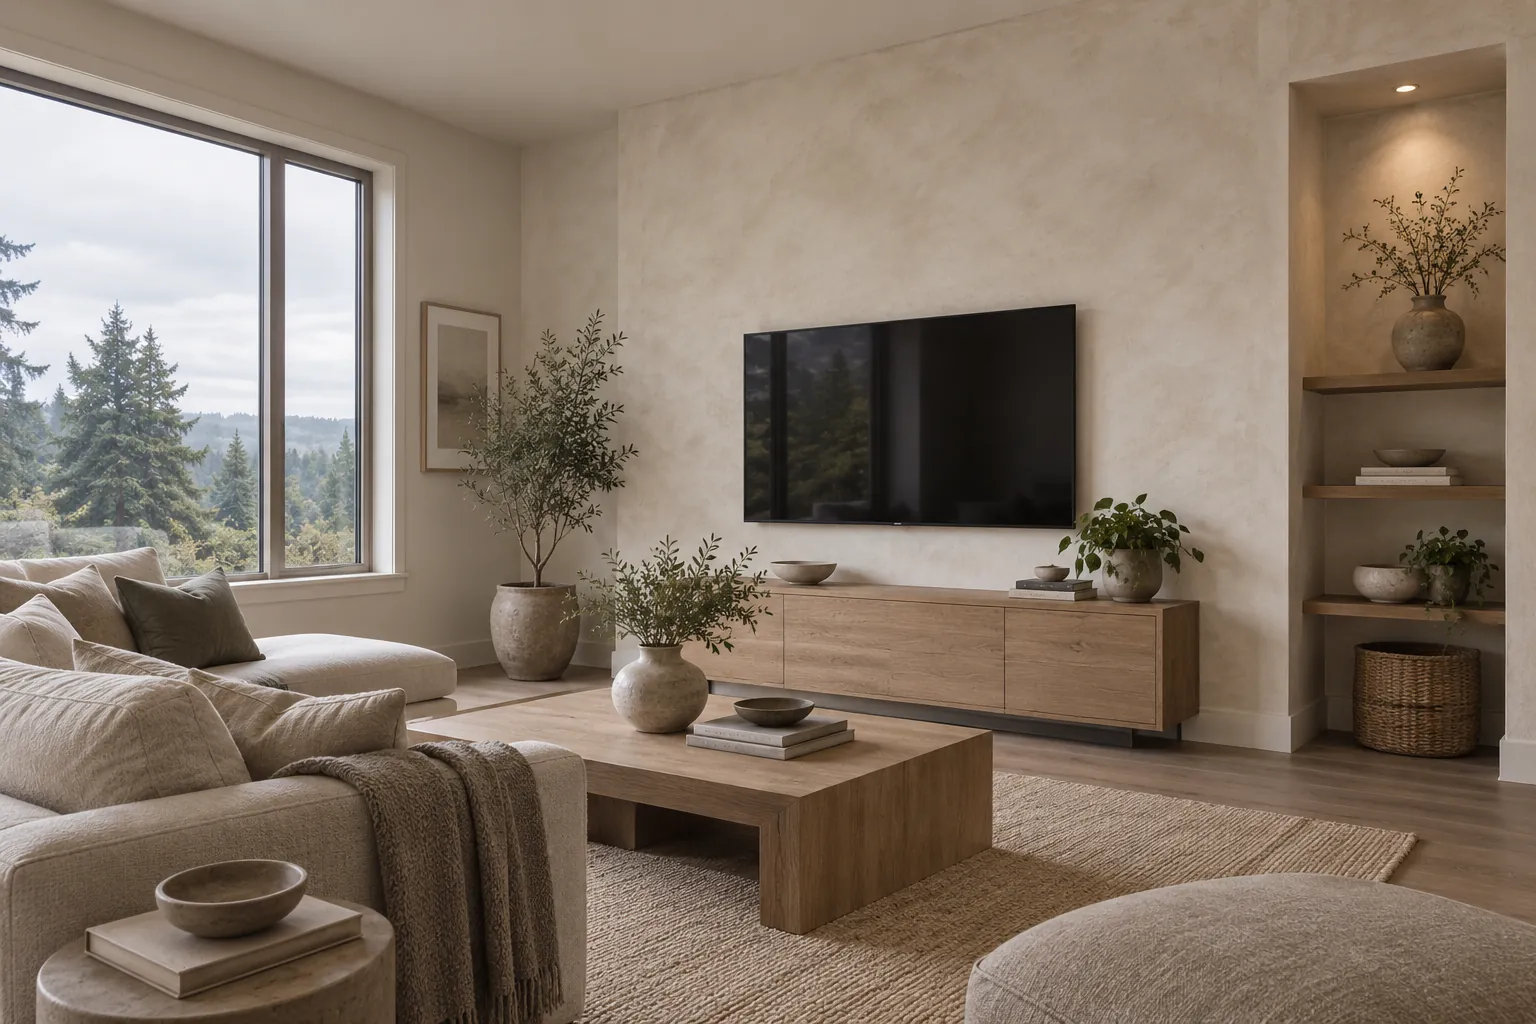
Family room with limewash over primed drywall
Warm-white limewash over primed drywall
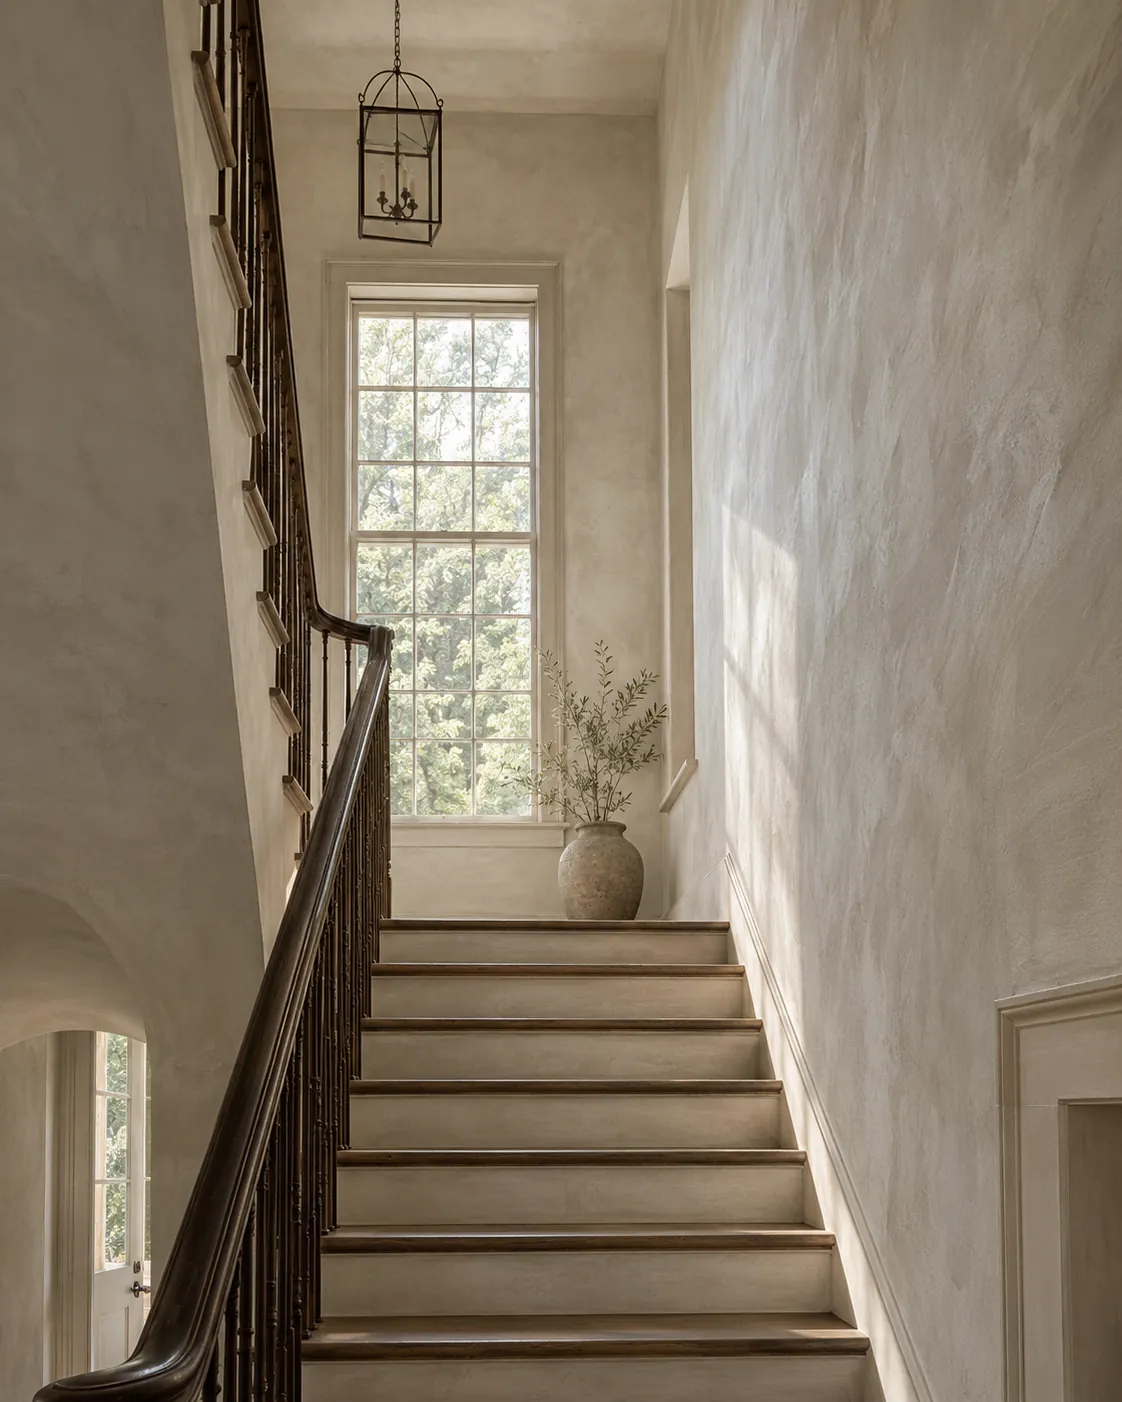
Stair hall finished in oatmeal limewash
Oatmeal limewash in a two-story stair hall
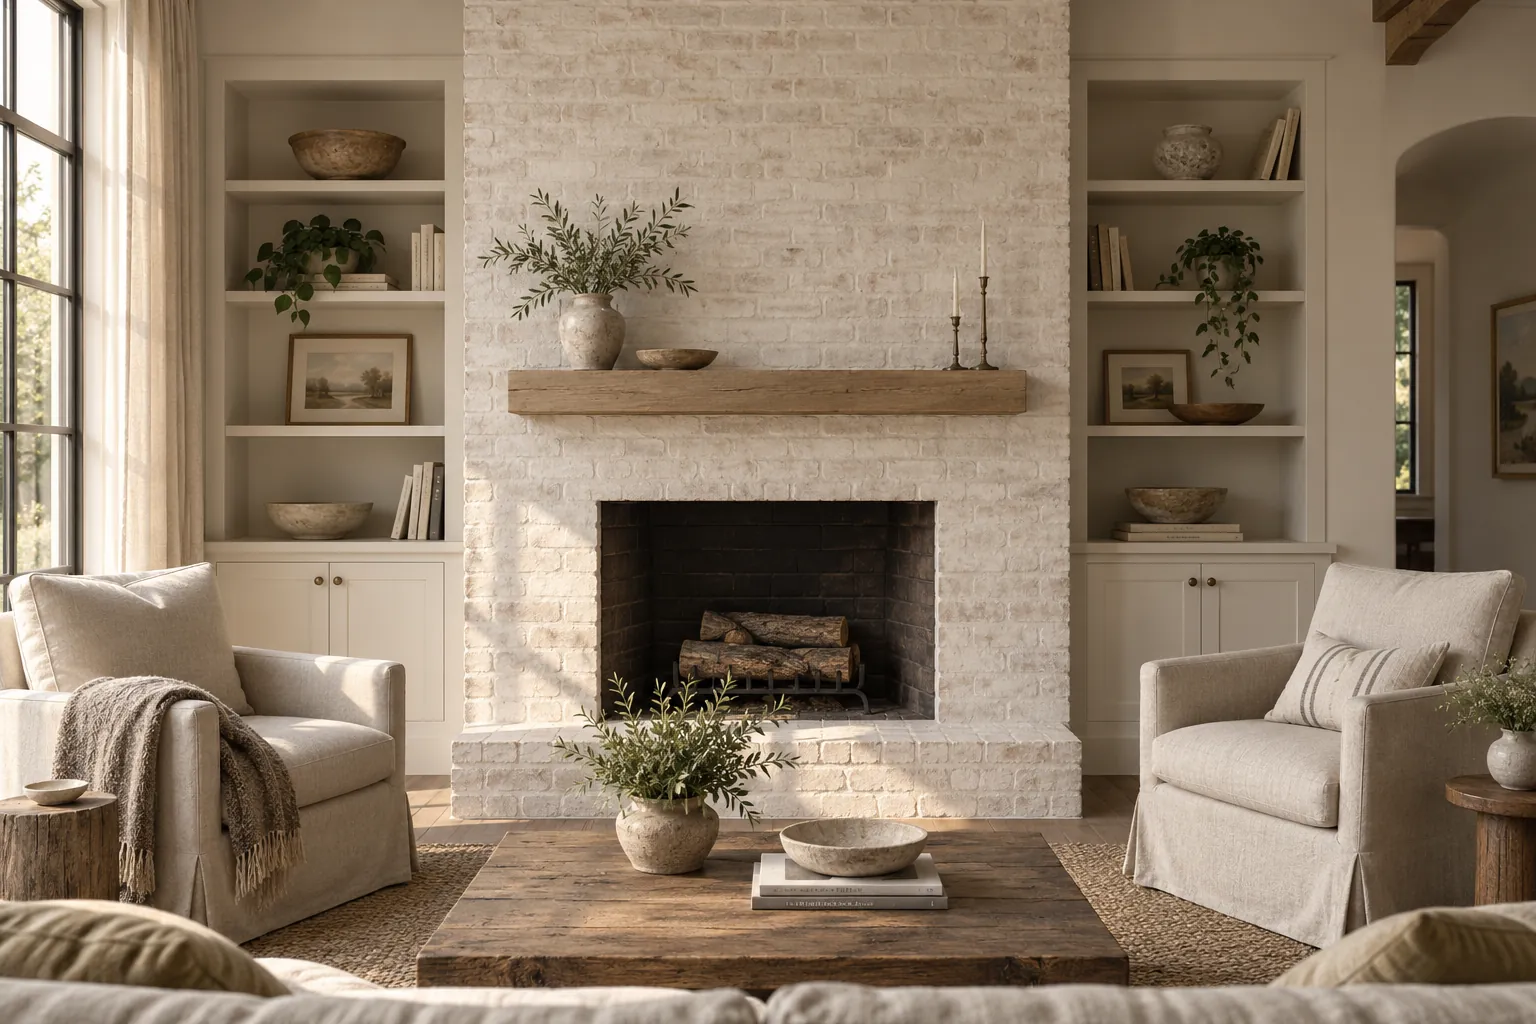
Brick fireplace in white limewash between built-in shelves
Chalky white limewash on a brick fireplace
Dining area with a limewashed interior brick wall
Interior brick wall in pale stone-gray limewash

Masonry, commercial interiors and samples

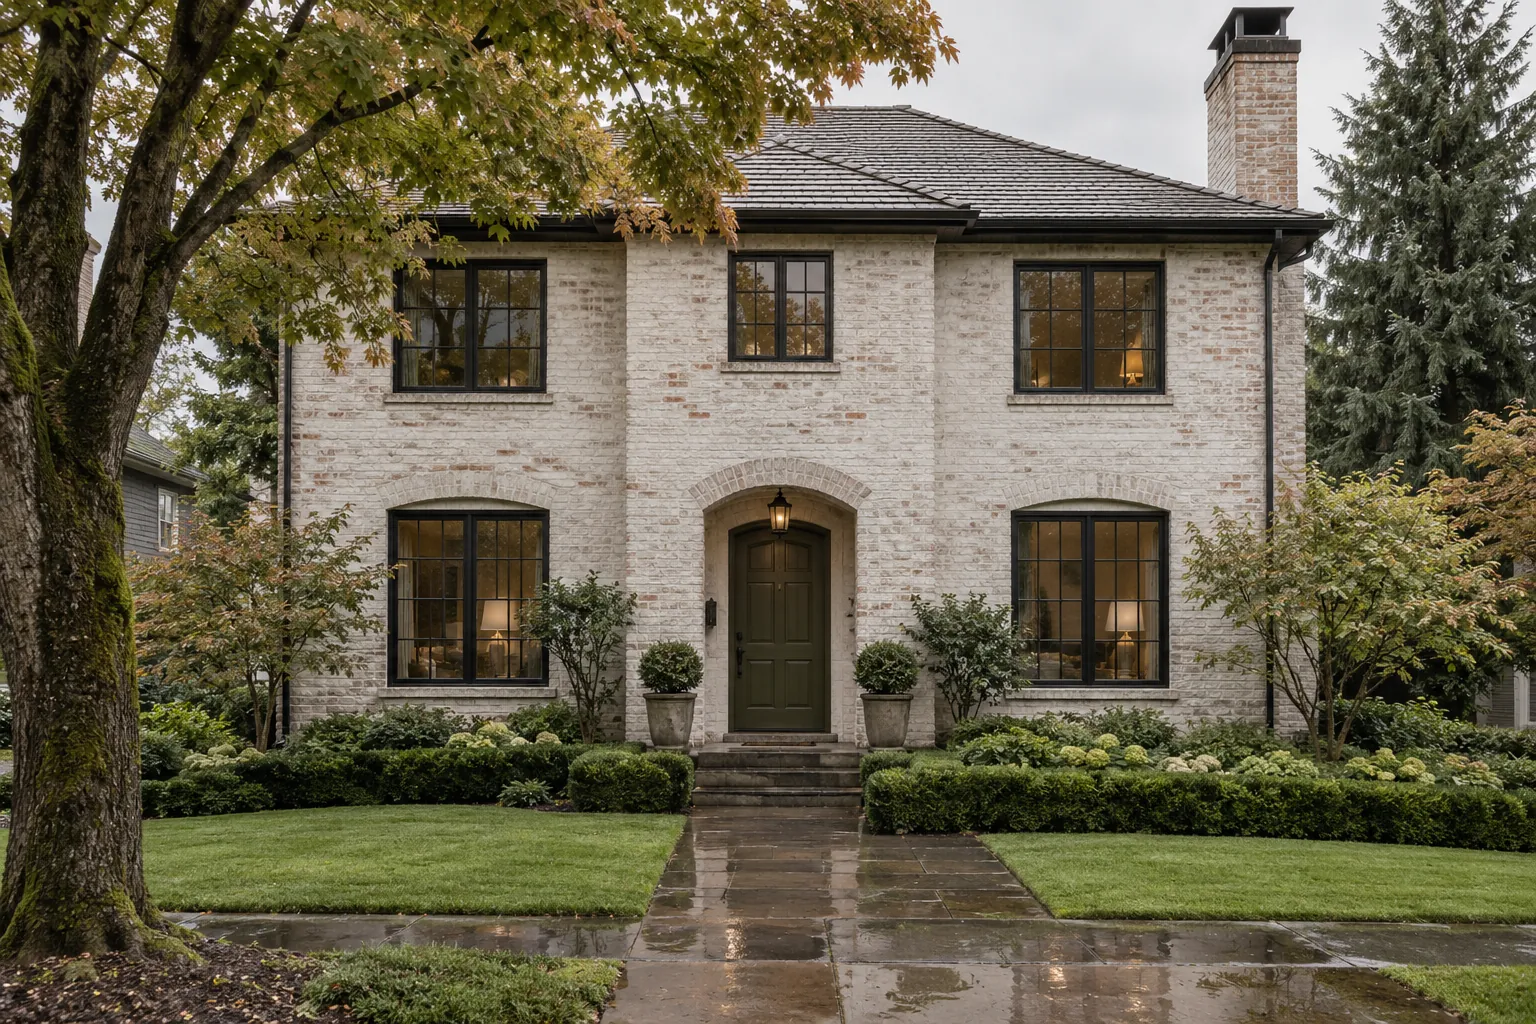
Two-story brick house with soft white limewash
Brick house limewashed in soft warm white
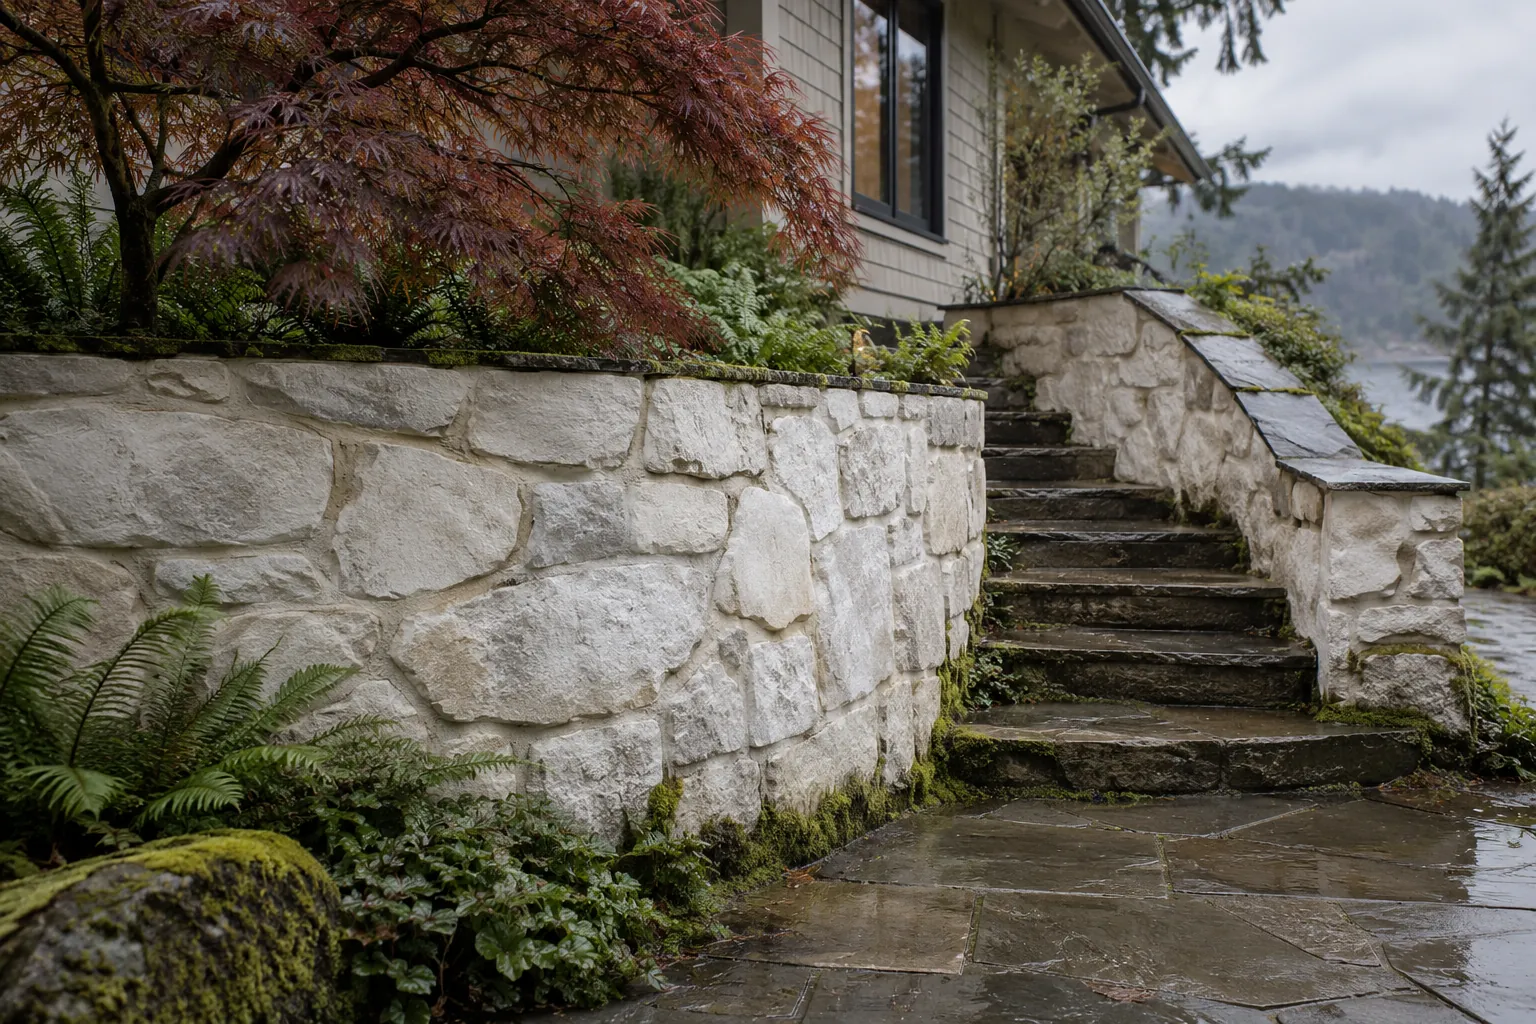
Fieldstone retaining wall and steps limewashed bone white
Fieldstone retaining wall in bone-white limewash
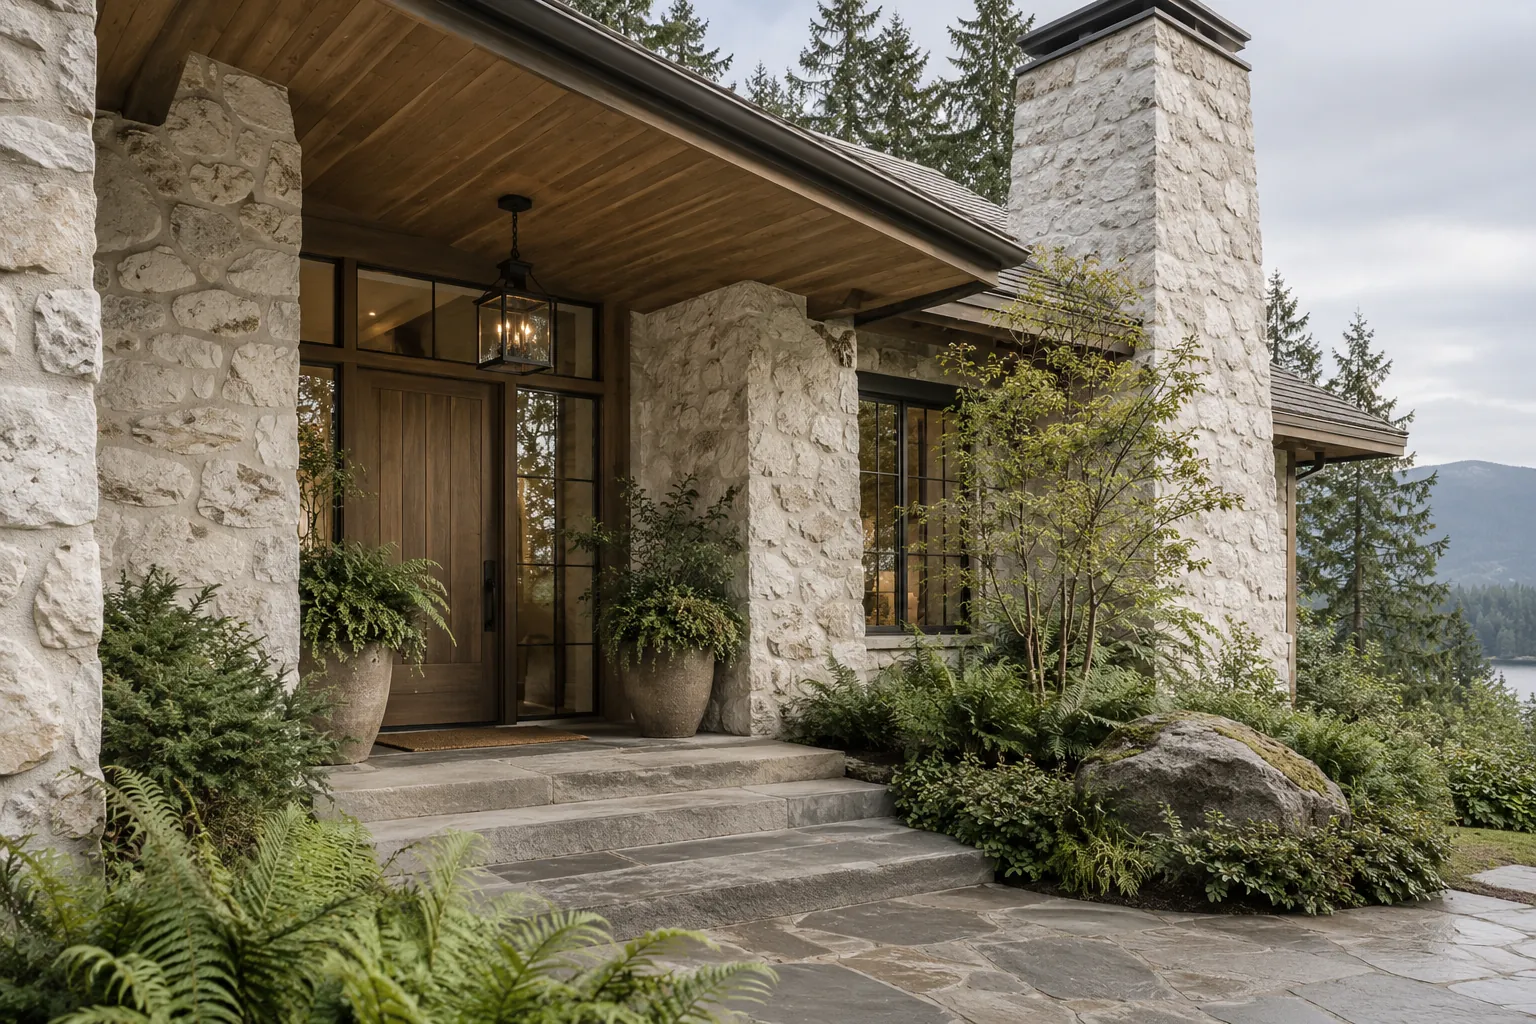
Fieldstone entrance and chimney limewashed bone white
Fieldstone entry and chimney in bone-white limewash
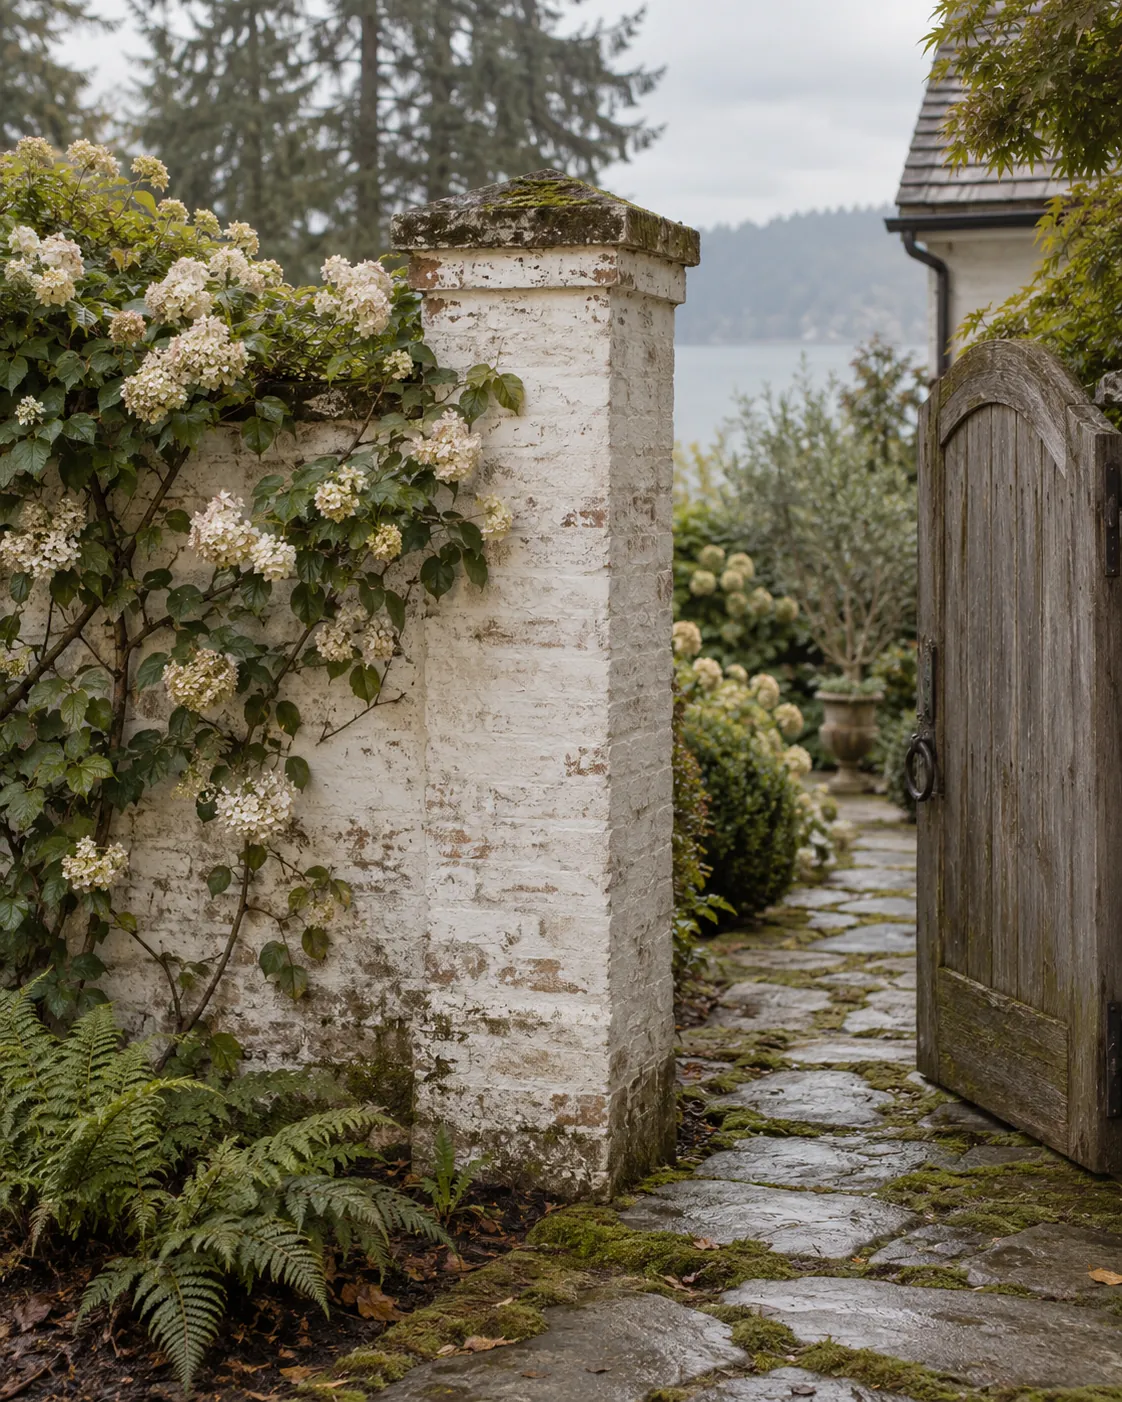
Brick garden pier with weathered limewash
Weathered white limewash on a brick garden pier
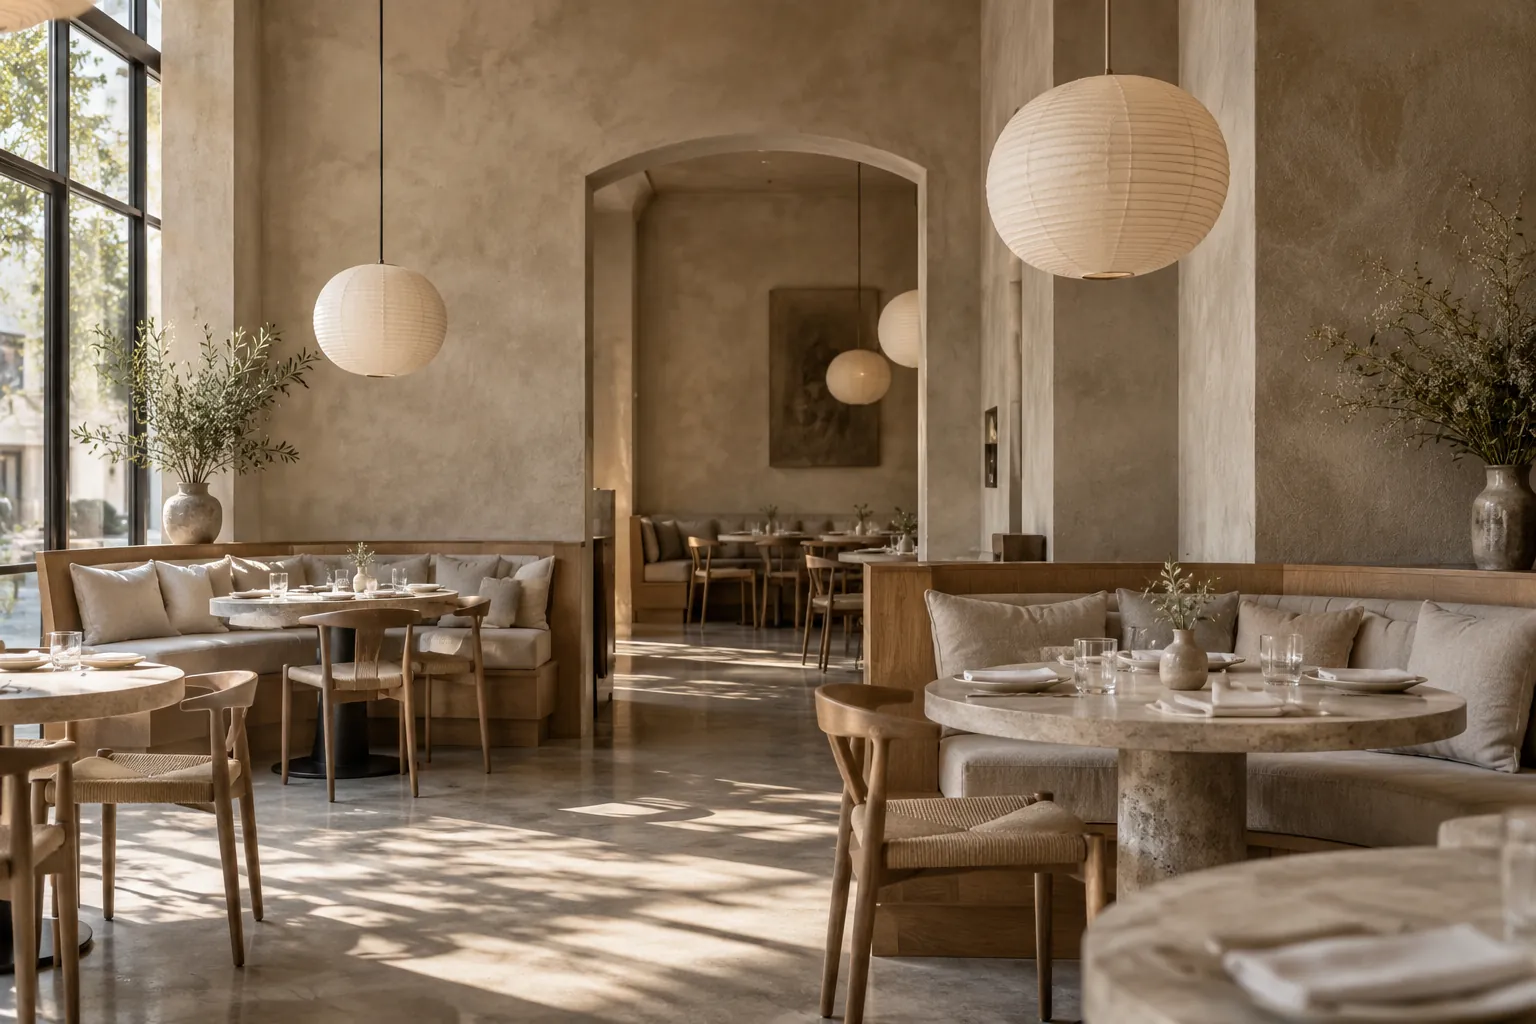
Restaurant dining room with taupe limewash walls
Warm taupe limewash in a restaurant dining room
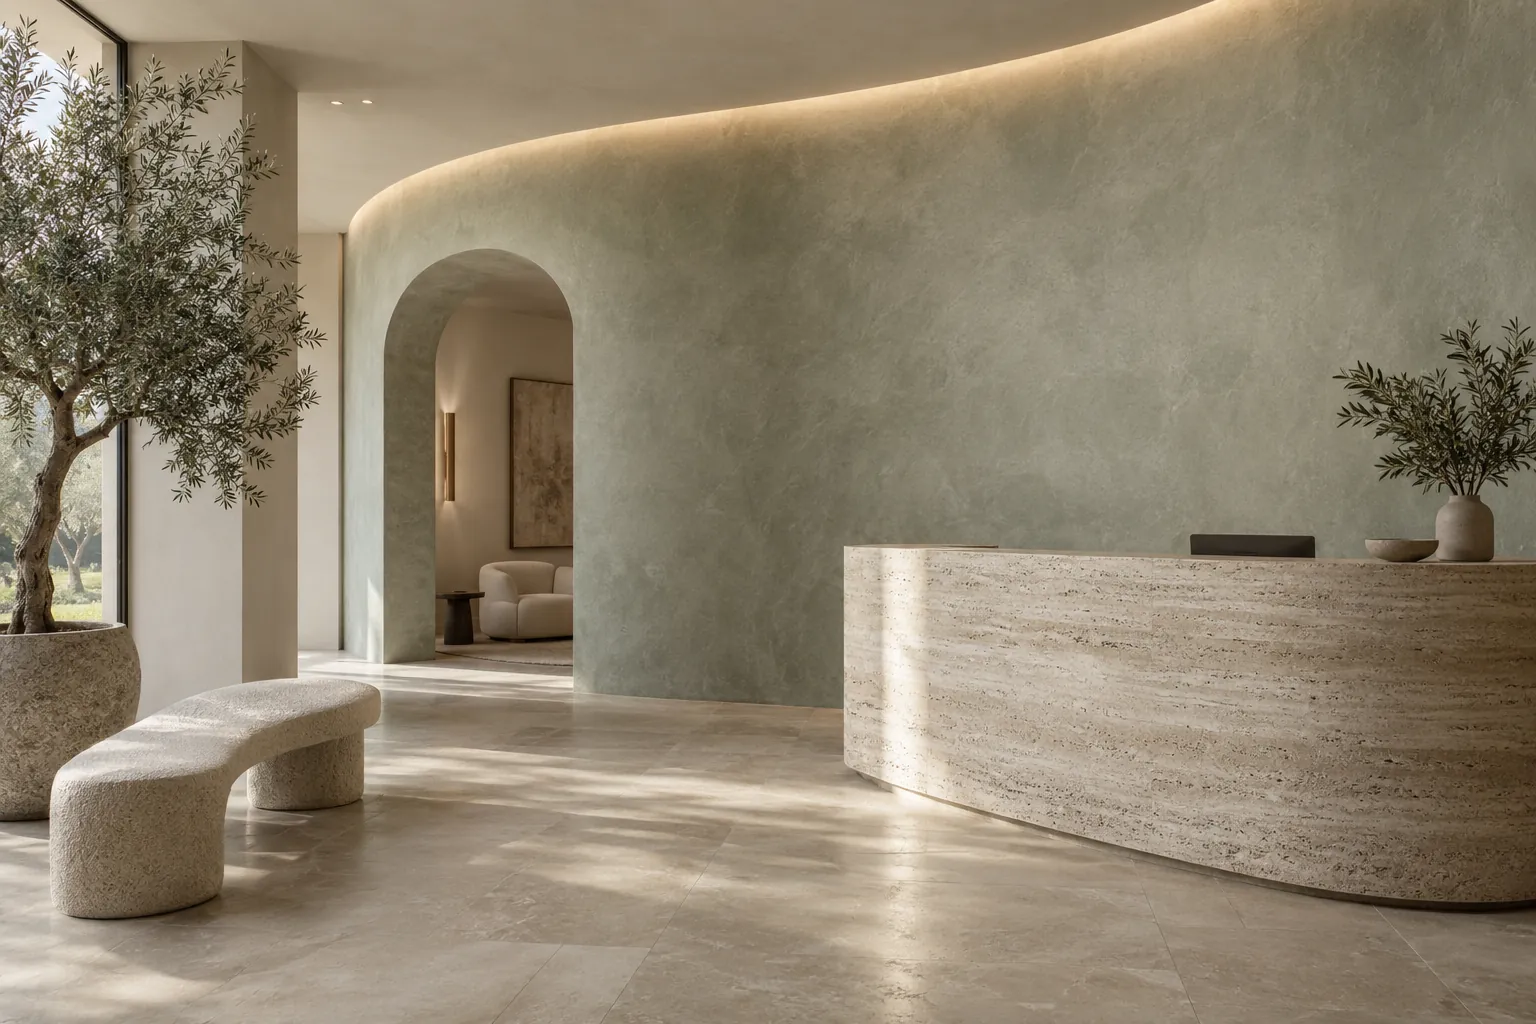
Lobby with a curved gray-green limewash feature wall
Gray-green limewash on a curved lobby wall
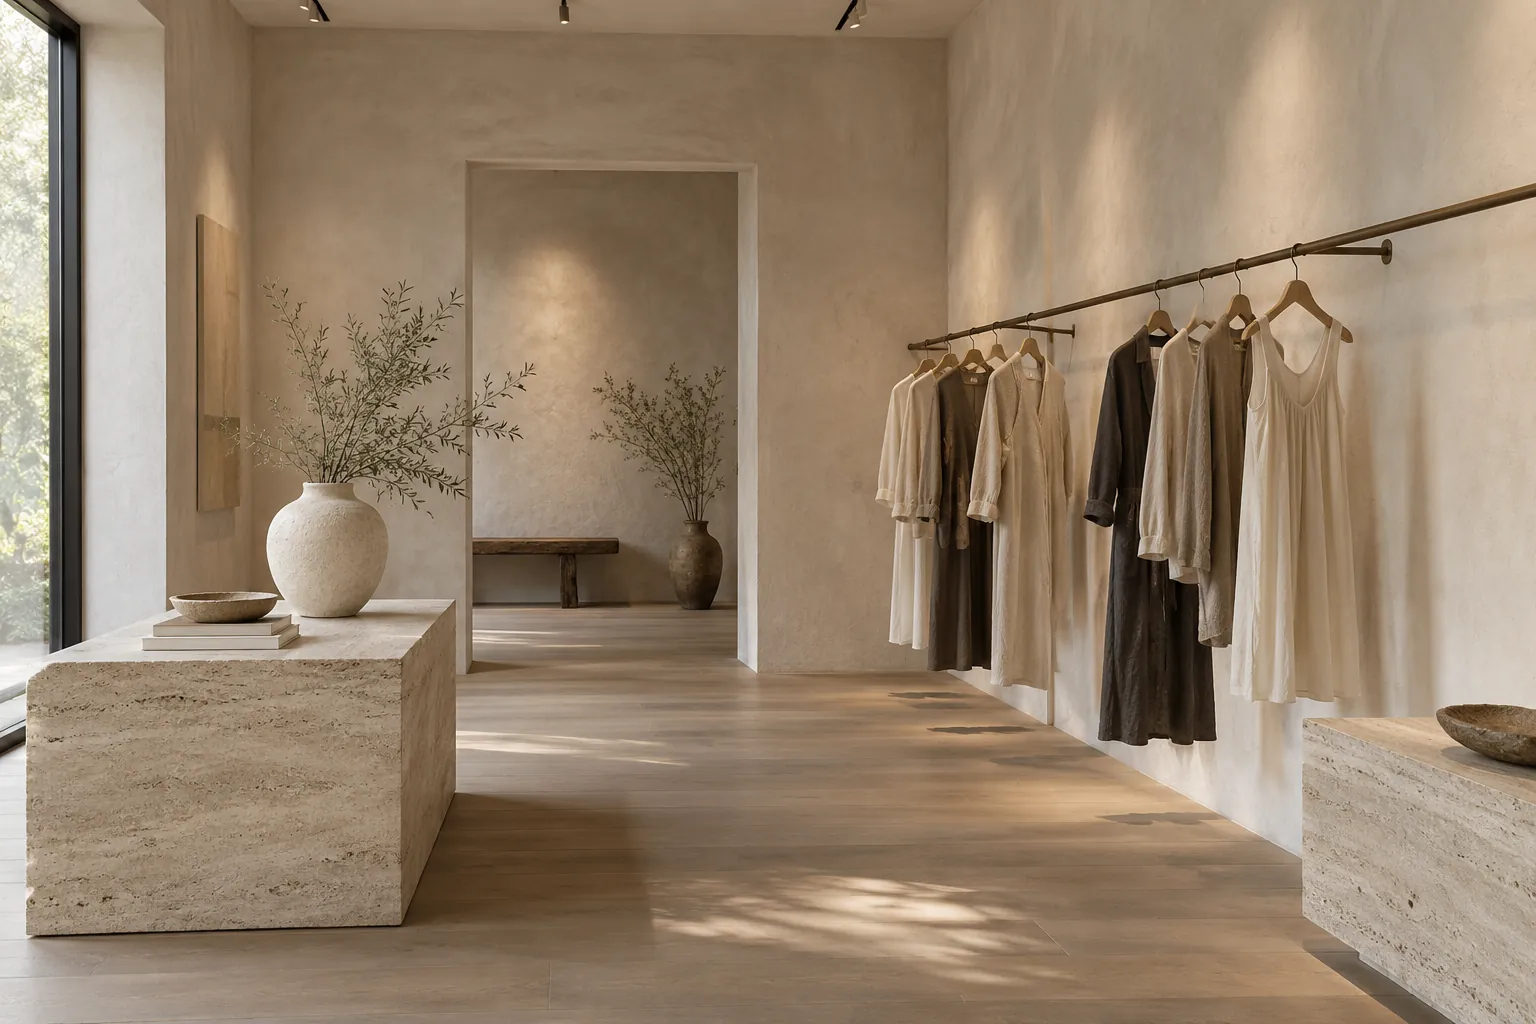
Boutique interior with pale clay limewash walls
Pale clay limewash in a boutique interior
Limewash sample boards in six mineral colors
Hand-brushed limewash sample boards

Request a free limewash quote

Tell us which surfaces you have in mind, roughly how big they are and where the property is. We'll get back to you soon with an estimate or any questions we have. Estimates are free and there's no obligation.

Call (425) 793-2317

Call (425) 793-2317